
A vibrant twist on classic tacos, packed with cheesy goodness and fresh bell pepper crunch.

When I first moved to the sunny outskirts of Austin, I was searching for a dish that could capture the bold, festive spirit of a Tex-Mex night while still feeling home‑cooked and comforting. One summer evening, after a day of wandering a bustling farmer’s market, I stumbled upon a pile of glossy, multicolored bell peppers stacked like a rainbow. Their crisp skins and sweet aroma reminded me of childhood barbecues, and I instantly imagined them as edible bowls for a hearty taco filling.
The concept of stuffing peppers is rooted in many cultures—from Mediterranean dolmas to Mexican chiles rellenos—yet I wanted to blend the familiar taco flavor profile with the visual drama of a stuffed pepper. The result? A dish that sings with the smoky heat of seasoned beef, the comforting creaminess of melted cheese, and the fresh snap of bell pepper walls that hold everything together.
In this recipe, you’ll learn how to balance the spice, texture, and moisture so that each bite delivers a perfect harmony of flavors. I’ll walk you through prepping the peppers, creating a robust taco filling, and achieving that golden, bubbly cheese crust that makes the dish unforgettable.
Grab your apron, fire up the oven, and let’s turn ordinary bell peppers into a fiesta you’ll want to repeat again and again.
🌟 Why This Recipe Will Capture Your Heart
This taco‑stuffed masterpiece combines the comfort of a casserole with the excitement of a handheld taco, making it perfect for family dinners or casual gatherings.
- ✨ Colorful Presentation : The vivid reds, yellows, and greens of the peppers create a plate that’s as eye‑catching as it is appetizing, encouraging even picky eaters to dig in.
- ✨ One‑Pan Simplicity : All components bake together, reducing cleanup and allowing flavors to meld beautifully in the oven.
- ✨ Customizable Heat : Adjust the spice level with jalapeños, chipotle, or a dash of cayenne, making it suitable for mild or fiery palates.
- ✨ Protein‑Packed : Ground beef delivers a satisfying dose of protein, while beans add extra fiber and a plant‑based boost.
- ✨ Cheesy Bliss : A blend of sharp cheddar and creamy mozzarella creates a melty crown that turns every bite into a gooey celebration.
- ✨ Meal‑Prep Friendly : The dish stores well, reheats beautifully, and can be portioned for lunches throughout the week.
🥗 The Ingredients
📝 Complete Ingredient List
For the Stuffed Peppers:
For the Taco Filling:
For the Cheese Topping:

🔍 Focus on Key Ingredients
Bell Peppers
Bell peppers act as edible vessels, offering a sweet crunch that balances the savory taco filling. Choose peppers with firm walls and vibrant colors; the skin should be taut and glossy. When roasting, the natural sugars caramelize slightly, adding depth without extra seasoning.
Ground Beef
Ground beef provides a rich, meaty backbone. Opt for an 80/20 lean‑to‑fat ratio; the fat renders during cooking, keeping the filling moist and flavorful. For a leaner version, substitute turkey or chicken, but be mindful of adding a splash of broth to prevent dryness.
Cheddar & Mozzarella Blend
Combining sharp cheddar with milder mozzarella creates a perfect melt: cheddar gives a tangy bite, while mozzarella ensures a stretchy, gooey top. Grate both cheeses fresh for maximum meltability and avoid pre‑shredded varieties that contain anti‑caking agents.
🔄 Quick Substitutions
| If you don’t have... | Use instead... |
|---|---|
| Ground beef | Ground turkey or plant‑based mince |
| Cheddar cheese | Monterey Jack or aged gouda |
| Black beans | Pinto beans or lentils |
👨🍳 Step‑by‑Step Instructions
Follow these detailed steps to create a restaurant‑quality taco stuffed pepper that’s bursting with flavor and texture.
📋 Phase 1: Preparation & Mise en Place
First, we’ll prep the peppers and gather the filling components.
Prep the Bell Peppers
Slice the tops off each bell pepper, keeping the stems intact for a natural handle. Carefully remove the seeds and membranes with a small spoon, making sure the interior cavity is clean. Rinse the peppers under cold water and pat dry with a paper towel. Lightly brush the outer walls with olive oil and sprinkle with a pinch of salt and pepper to enhance the roasting flavor.
Cook the Rice
While the peppers are being prepped, cook one cup of long‑grain rice according to package instructions. Use a 2:1 water‑to‑rice ratio, bring to a boil, then simmer covered for 15 minutes. Fluff with a fork and set aside; the rice will absorb the seasoned juices from the filling later.
🔥 Phase 2: Cooking & Assembly
Now we’ll create the taco‑style filling and stuff the peppers.
Brown the Ground Beef
Heat a large skillet over medium‑high heat. Add the ground beef, breaking it up with a wooden spoon. Cook until browned, about 5‑7 minutes, draining excess fat if necessary. Stir in minced garlic and taco seasoning, letting the spices toast for 30 seconds before adding tomato sauce, black beans, corn, and cooked rice. Mix thoroughly and let the mixture simmer for 3‑4 minutes so the flavors meld.
Stuff the Peppers
Evenly distribute the taco filling among the prepared bell peppers, pressing gently to pack the mixture. Fill each pepper to the brim, leaving a small gap for the cheese topping.
Add the Cheese Blend
Combine shredded cheddar and mozzarella in a bowl, then sprinkle the mixture generously over each stuffed pepper. The cheese should cover the surface completely, creating a golden crust as it bakes.
✨ Phase 3: Finishing & Serving
Final baking and presentation steps.
Bake to Perfection
Preheat the oven to 190°C (375°F). Place the stuffed peppers upright in a baking dish, covering the dish loosely with foil to keep moisture in. Bake for 20 minutes, then remove the foil and bake an additional 10‑12 minutes, or until the cheese is melted, bubbly, and lightly golden.
Garnish and Rest
Remove the peppers from the oven and let them rest for 5 minutes. Sprinkle freshly chopped cilantro over the top for a burst of herbaceous freshness. If desired, add a dollop of sour cream or a drizzle of lime juice just before serving.
Serve
Plate each pepper on a warm serving dish. Pair with a crisp green salad or tortilla chips for added crunch. Enjoy the vibrant colors and the harmonious blend of Mexican flavors in every bite.
💡 Expert Tips & Tricks
🛒 Choosing the Right Ingredients
When selecting bell peppers, look for firm, glossy skins without blemishes. The thicker the walls, the less likely they are to collapse during baking. For the ground beef, a slightly higher fat content (80/20) ensures juiciness. Fresh herbs like cilantro should be added at the end to preserve their bright flavor, while dried spices benefit from a brief toast to release aromatics.
🔪 Preparation Techniques
Use a sharp paring knife to trim the pepper tops and remove seeds cleanly. A small spoon works best for scooping out membranes without tearing the flesh. When browning the beef, avoid overcrowding the pan; this allows proper Maillard reaction, enhancing depth of flavor.
🌡️ Mastering the Cooking
The initial covered baking stage steams the peppers, keeping them tender. Removing the foil for the final minutes encourages the cheese to caramelize. If you prefer a slightly charred edge, broil for the last 2 minutes, watching closely to prevent burning.
🍽️ Presentation & Service
Serve the peppers upright on a rustic wooden board for visual impact. A drizzle of avocado crema or a squeeze of fresh lime adds acidity that cuts through the richness. For a festive touch, sprinkle toasted pumpkin seeds or crushed tortilla strips on top.
🏆 Pro Tips
Elevate your dish from home‑cooked to restaurant‑level with these insider techniques.
- 🎯 Brining the Peppers : Soak the peppers in a light brine (1 tsp salt per cup water) for 15 minutes before drying. This step seasons the flesh evenly and helps retain moisture during baking.
- 🎯 Double‑Layer Cheese : Mix half the cheese blend into the filling before stuffing, then top with the remaining cheese. This creates a creamy interior and a crisp exterior.
- 🎯 Smoke Infusion : Add a pinch of smoked paprika to the taco seasoning for a subtle smoky undertone that mimics a grill.
- 🎯 Temperature Accuracy : Use an instant‑read thermometer; the internal temperature of the filling should reach 74°C (165°F) for safe consumption.
- 🎯 Resting Period : Allow the peppers to rest after baking; this lets the juices redistribute, preventing a soggy bottom.
- 🎯 Plate Height : Place each pepper on a small mound of cilantro‑lime rice to add height and visual balance on the plate.
"The secret to a great stuffed pepper is respecting the vegetable as a vessel, not just a container." — Chef Gabriela Mendez
🔄 Variations & Adaptations
This recipe is a versatile canvas. Below are several ways to tailor it to dietary preferences, flavor cravings, and seasonal ingredients.
🥬 Vegetarian / Vegan Version
Replace ground beef with a mixture of crumbled tempeh, lentils, and smoked paprika for a hearty plant‑based filling. Use vegan cheese blends (e.g., cashew mozzarella) and omit sour cream or swap with a cashew‑based crema.
- Tempeh (200 g) – provides protein and a nutty texture.
- Cooked green lentils (1 cup) – adds earthiness and bulk.
🌶️ Flavor Variations
Explore different cultural twists by adjusting the seasoning profile and additional ingredients.
Spicy Version
Increase heat by adding finely diced jalapeños to the filling and a dash of chipotle powder. Finish with a drizzle of hot sauce.
Mediterranean Version
Swap taco seasoning for oregano, lemon zest, and feta cheese. Add chopped olives and sun‑dried tomatoes for a briny contrast.
Asian Fusion Version
Use soy sauce, ginger, and a splash of sesame oil in the filling. Top with shredded mozzarella mixed with a little grated Parmesan and garnish with sliced green onions and toasted sesame seeds.
⚠️ Dietary Adaptations
Gluten‑Free
Ensure the taco seasoning is certified gluten‑free and serve with a side of quinoa instead of rice.
Lactose‑Free
Use lactose‑free cheddar and mozzarella alternatives made from almond or coconut milk.
Low‑Calorie
Reduce the cheese amount by half and substitute ground beef with lean ground turkey. Increase the proportion of vegetables like zucchini and mushrooms in the filling.
👶 Family / Kids Version
Kids love milder flavors. Omit the taco seasoning and use a simple blend of mild paprika, garlic powder, and a pinch of sugar. Top with extra mozzarella for a stretchy cheese pull that’s always a hit.
📦 Storage & Reheating
🧊 Conservation
Refrigerator
- Duration: 3–4 days
- Recommended container: airtight glass or BPA‑free plastic container
- Tip: Store peppers with the cheese side up to prevent sogginess.
Freezer
- Duration: Up to 2 months
- Method: Cool completely, then wrap each pepper individually in foil and place in a freezer‑safe bag.
- Defrosting: Transfer to the refrigerator overnight before reheating.
💡 For best texture, reheat from frozen without thawing; the steam generated will keep the peppers moist.
♨️ Reheating
🔥 Oven (Recommended)
- Preheat to 180°C (350°F).
- Cover with foil to retain moisture.
- Reheat for 12‑15 minutes.
- Remove foil and bake an additional 5 minutes to re‑crisp the cheese.
⚡ Microwave (Quick)
- Place pepper on a microwave‑safe plate.
- Cover with a microwave‑safe lid.
- Heat on medium power for 2‑3 minutes, checking halfway.
- Stir the filling gently if needed and heat an extra 30 seconds.
🍳 Stovetop
Heat a non‑stick skillet over medium heat, add a splash of broth, and cover. Cook for 5‑7 minutes, turning once, until heated through. This method adds a subtle caramelized edge.
🍷 Perfect Pairings
🥗 Side Dishes
- Mexican Corn Salad: Charred corn tossed with lime, cilantro, and a hint of chili powder adds sweet‑spicy balance.
- Avocado Lime Slaw: Creamy avocado mixed with cabbage and a tangy lime dressing offers a refreshing crunch.
- Black Bean & Quinoa Pilaf: A protein‑rich side that complements the hearty peppers without overwhelming flavors.
🍷 Wine & Drink Pairings
- Rosé (dry, chilled): The bright acidity cuts through the richness of the cheese and beef.
- Zinfandel: Its fruit-forward profile matches the sweet peppers and taco spices.
- Non‑alcoholic: A sparkling agua fresca with cucumber and mint provides a crisp, refreshing contrast.
🍰 To Complete the Meal
Start with a light cucumber gazpacho, move to the stuffed peppers as the main course, and finish with a citrus‑infused tres leches cake. The dessert’s sweetness and moisture echo the tropical notes of the peppers while providing a satisfying finale.
❓ Frequently Asked Questions
Q: Can I use a different type of meat?
Absolutely. Ground turkey, chicken, or even pork work well. If you choose a leaner meat, add a tablespoon of olive oil or a splash of broth to keep the filling moist. Adjust seasoning accordingly, as poultry tends to be milder than beef.
Q: How do I prevent the peppers from becoming soggy?
Start by lightly roasting the peppers for 10 minutes before stuffing; this reduces moisture. Also, avoid over‑mixing the filling with watery ingredients. A brief pre‑bake helps the walls stay firm and creates a slight caramelized edge.
Q: What if I don’t have fresh cilantro?
You can substitute flat‑leaf parsley or a small amount of fresh basil for a different herbaceous note. Dried cilantro works in a pinch, but add it after baking to preserve flavor.
Q: My cheese didn’t melt properly—what went wrong?
Make sure the oven is fully preheated and that the cheese is evenly distributed. Removing the foil for the last 10 minutes encourages browning. If the cheese still resists melting, increase the oven temperature by 10°C (20°F) and watch closely.
Q: Can I make this recipe ahead of time?
Yes. Assemble the peppers up to the cheese topping, cover tightly, and refrigerate for up to 24 hours. When ready, bake as directed, adding an extra 5 minutes to the covered stage to ensure the peppers are heated through.
Q: How do I scale the recipe for more servings?
Use the portion adjuster on the recipe card below. The script automatically recalculates ingredient quantities based on the number of servings you select, keeping ratios accurate.
🎉 Let’s Get Cooking!
These Taco Stuffed Bell Peppers with Cheese bring together the excitement of Mexican street food with the comforting feel of a baked casserole. The combination of sweet, tender peppers, savory taco filling, and a melty cheese crown makes every bite a celebration of texture and flavor. Whether you’re feeding a family, hosting friends, or prepping meals for the week, this dish offers flexibility, nutrition, and a visual wow factor that will impress anyone at the table.
Give it a try, snap a photo, and share your experience in the comments below. Your feedback helps us refine the recipe and inspires other home cooks to experiment with their own twists. Happy cooking, and may your kitchen always be filled with delicious aromas!
Have you tried this recipe?
Leave a comment and rating below! Share your photos on Instagram with #TacoPepperFiesta to be featured.
Taco Stuffed Bell Peppers with Cheese
Colorful bell peppers filled with a savory taco mixture and topped with a cheesy crust.
📝 Ingredients
Stuffed Peppers
Taco Filling
Cheese Topping
👨🍳 Instructions
- 1
Preheat the oven to 190°C (375°F). Slice the tops off the bell peppers, remove seeds and membranes, brush with olive oil, and season lightly.
- 2
Cook the rice according to package directions; set aside.
- 3
Brown the ground beef in a skillet, add garlic and taco seasoning, then stir in tomato sauce, beans, corn, and cooked rice. Simmer for 4 minutes.
- 4
Stuff each pepper with the taco mixture, packing gently but firmly.
- 5
Combine the cheddar and mozzarella; sprinkle evenly over the stuffed peppers.
- 6
Cover the baking dish with foil and bake for 20 minutes.
- 7
Remove foil and bake an additional 10‑12 minutes until cheese is golden and bubbling.
- 8
Garnish with fresh cilantro and optional sour cream before serving.
- 9
Allow the peppers to rest for 5 minutes to let flavors settle.
- 10
Serve hot with your favorite side dishes and enjoy!
🥗 Nutritional Information (per serving)
*Values are estimates based on ingredients listed.
📚 You Might Also Like

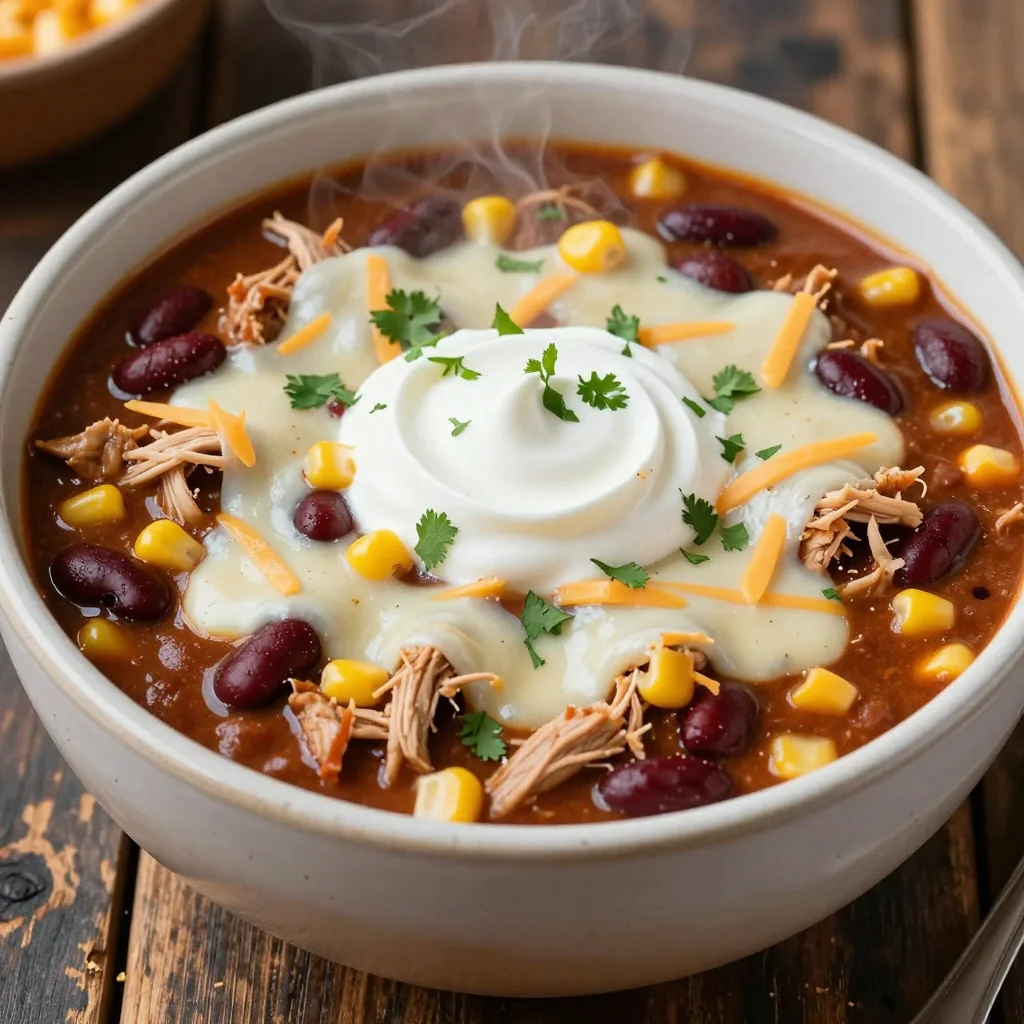
Cheesy Chicken Enchilada Bake

Quinoa Stuffed Zucchini Boats

Spicy Shrimp Taco Salad


💬 Comments & Reviews
Leave a Comment
No comments yet. Be the first to share your thoughts!